

Want to create your own custom Risk board game map but don’t know where to start?
You’re in the right place.
In this guide, as a professional custom board games manufacturer, I’ll show you exactly how to make a Risk board game map from scratch. Whether you’re tired of the classic version or want something personalized for your gaming group, I’ve got you covered.
Let me be clear: making your own Risk map isn’t just about drawing some continents and territories. There’s a science to creating a balanced, playable game that will actually be fun.
And I’ll walk you through every step of the process.
Let’s dive in.

Why Create a Custom Risk Map?
Before we get into the nitty-gritty details, let’s talk about why you might want to make your own Risk map in the first place.
The standard Risk game is great. But there are legit reasons to create your own:
- Personalization: Create a map based on your favorite fictional world, historical period, or even your hometown
- Balance issues: Fix gameplay problems from the official maps
- Fresh challenge: Surprise experienced Risk players with new strategic opportunities
- Gift potential: Custom maps make amazing personalized gifts for board game lovers
I recently played a custom Risk game with friends and the engagement level was off the charts. People were genuinely excited about fighting for control of locations they recognized.
Now, let’s get to the actual creation process.
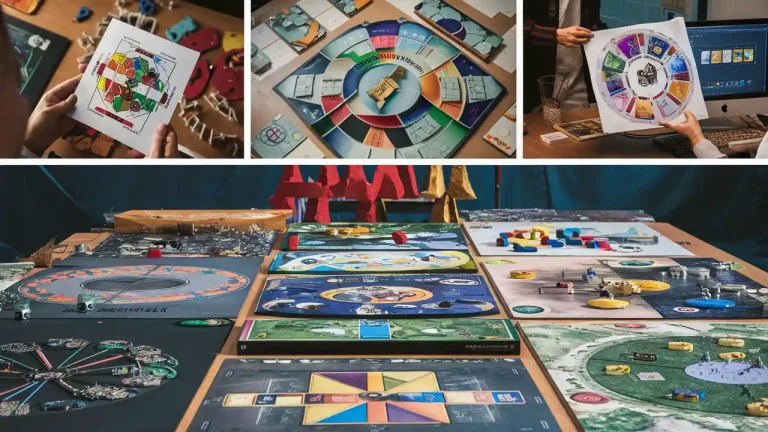
How to Make a Risk Board Game Map
What You’ll Need to Make a Risk Board Game Map
Creating a custom Risk map requires some basic supplies:
- Design software (GIMP, Photoshop, or even PowerPoint)
- Map editor software (Risk Map Editor or similar)
- Board material (poster board, foam core, or printed on vinyl)
- Printing resources (home printer or professional printing service)
- Basic art supplies (if adding manual touches)
- Game pieces (can be borrowed from a standard Risk set)
The good news? You don’t need to be a professional designer to make something awesome. I’ve seen incredible maps created by first-timers with basic tools.
Step 1: Plan Your Risk Map Concept
Every great Risk map starts with a solid concept. This is where you decide:
Choose Your Theme
Your map could be:
- Fantasy-based (Game of Thrones, Lord of the Rings)
- Historical (Ancient Rome, Medieval Europe)
- Futuristic (Space colonies, Post-apocalyptic Earth)
- Local (Your city or state divided into neighborhoods)
Whatever you choose, make sure it’s something you’re passionate about. You’ll be spending hours working with this theme.
Determine Your Scale
Decide how big your world will be:
- Global (like traditional Risk)
- Regional (focusing on a specific area)
- Conceptual (not geographically accurate but thematically coherent)
Sketch Your Initial Concept
Before opening any software, grab a piece of paper and sketch your basic concept. Think about:
- Major regions (continents)
- Key territories within those regions
- Natural boundaries (mountains, rivers, oceans)
- Strategic chokepoints
This initial sketch doesn’t need to be perfect. It’s just to get your ideas flowing.
Step 2: Design Your Risk Map
Now we’re getting to the fun part – actually designing your map!
Choose Your Design Software
While professional designers might use Adobe Illustrator, you don’t need anything fancy. Options include:
- GIMP (free and powerful)
- Inkscape (free vector graphics editor)
- PowerPoint (surprisingly effective for simple designs)
- Adobe Photoshop (if you already have it)
I personally recommend GIMP for beginners. It’s free and has all the tools you’ll need.
Create Your Base Map
Start by creating your base map:
- Set up a document sized at least 24″ x 36″ at 300 DPI for good print quality
- Create layers for different elements (base, territories, labels, etc.)
- Draw your continental outlines
- Add natural features like mountains and rivers
Pro tip: Use a light color for your base and darker colors for territory borders. This makes the map easier to read during gameplay.
Design Your Territories
This is where game balance becomes crucial:
- Divide your map into territories (40-50 is typical for a standard-sized Risk game)
- Group territories into continents/regions (5-7 regions works well)
- Ensure each region has 3-7 territories
- Balance the strategic value of each region
The key to a balanced Risk map is making sure no region is too easy to defend or too valuable to control. Ideally, smaller regions should be harder to defend (more entry points) than larger ones.
Add Visual Elements
Make your map visually appealing with:
- Distinct colors for each region
- Thematic decorations (dragons for fantasy maps, ships for naval themes)
- Period-appropriate styling (antique look for historical maps)
- Compass rose and scale bar
Remember, your map needs to be functional first, beautiful second. Don’t let decorative elements interfere with gameplay clarity.
Step 3: Use the Risk Map Editor
To transform your design into a playable game, you’ll want to use specialized software.
The Risk Map Editor is a free tool that lets you:
- Import your map design
- Define territories and connections
- Establish continent bonus values
- Create mission cards
- Test for game balance
Here’s how to use it:
- Download the Risk Map Editor from a reputable source
- Import your map as a background image
- Place territory markers on each territory
- Connect adjacent territories
- Define continent groupings
- Set continent bonus values
- Create and balance mission cards
The editor will allow you to test your map for connectivity issues and strategic balance before you finalize it.
Step 4: Test Your Map Balance
Before finalizing your design, you need to test it. Here’s my three-step process:
Simulate Basic Gameplay
Run through some simple gameplay scenarios:
- Is it too easy to hold certain continents?
- Are there territories that are impossible to defend?
- Do certain starting positions give unfair advantages?
Consider These Balance Factors:
- Connectivity: Each territory should connect to 2-4 others (too few = chokepoints, too many = indefensible)
- Continent values: Smaller, easily-defended continents should offer smaller bonuses
- Strategic pathways: There should be multiple viable paths to victory
- Starting positions: Random placements should not heavily favor certain regions
Revise Based on Testing
Don’t be afraid to make changes after testing:
- Redraw borders to balance territory connections
- Adjust continent bonus values
- Add or remove strategic connections
Remember, even the official Risk map has some balance issues. Your goal is to minimize these while keeping your theme intact.
Step 5: Produce Your Physical Map
Once your design is finalized, it’s time to create the physical board.
Choosing Board Material
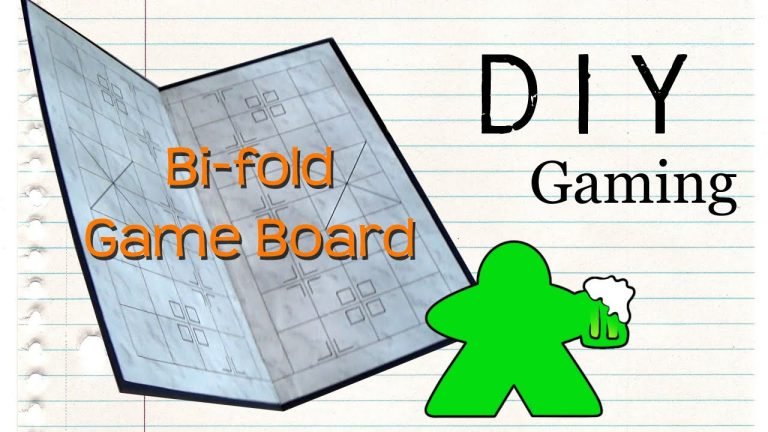
For a folding board (which you mentioned wanting), you have several options:
- Poster board on fabric: Print your map on poster paper and mount it to fabric for the hinges
- Foam core with tape hinges: Durable but thicker
- Professional board printing: Companies like The Game Crafter can produce professional-quality boards
The most economical option is poster board mounted on fabric, which gives you the classic folding board feel.
Printing Your Map
Options for printing include:
- Home printing: Print in sections and combine (budget-friendly but requires assembly)
- Office supply stores: Larger format printing (good middle-ground option)
- Professional printing services: Highest quality but more expensive
- Vinyl printing: Durable and waterproof (great for long-term use)
If you’re using GIMP, export your finished map as a high-resolution PDF or TIFF file for best printing results.
Creating Game Cards
Don’t forget about the territory cards! You’ll need:
- One card per territory
- Matching symbols or icons
- Card back design
These can be designed in the same software and printed on cardstock, or you can use cards from an existing Risk set if your territory count matches.
Step 6: Finalize Your Game Components
To complete your custom Risk game, you’ll need:
Game Pieces
Options include:
- Repurpose pieces from an existing Risk set
- Purchase generic game pieces online
- 3D print custom-themed armies
Rules Documentation
Create a simple rulebook that explains:
- Any rule modifications from standard Risk
- Special territory features
- Continent bonus values
- Victory conditions
Storage Solution
Design a box or storage system that fits your board and components. This is often overlooked but makes a huge difference in game preservation and setup time.
Avoiding Common Risk Map Design Mistakes
Through my experience helping people create custom maps, I’ve noticed these common pitfalls:
Mistake #1: Too Many Territories
More isn’t always better. Too many territories leads to long, drawn-out games. Stick to 40-50 territories for a standard game length.
Mistake #2: Unbalanced Continents
When one continent is too easy to hold and gives too high a bonus, every game devolves into a fight for that single region. Make sure continent bonuses are proportional to difficulty of control.
Mistake #3: Unrealistic Connections
While you don’t need perfect geographical accuracy, completely nonsensical connections confuse players and break immersion.
Mistake #4: Cluttered Design
Too many visual elements make the map hard to read during play. Keep the design clean and functional, with clear territory boundaries.
Success Stories: Custom Risk Maps That Worked
Let me share some inspiration from real custom Risk maps that were huge hits:
One group created a map of their university campus, with each building as a territory and different schools as continents. They report it’s now a tradition for new students in their gaming group.
Another designer created a Song of Ice and Fire (Game of Thrones) map that balanced the regions perfectly by making Westeros harder to defend but with higher rewards than the more fragmented Essos.
A particularly creative map I saw used a fantasy subway system, where stations were territories and the lines formed natural continents. The design was simple but the gameplay was incredibly strategic.
Conclusion
Creating your own Risk board game map is a rewarding project that combines creativity with strategic thinking. With the right planning, design tools, and testing, you can create a map that provides hours of unique gameplay.
Just remember these key points:
- Start with a strong theme and concept
- Focus on balance and playability
- Test thoroughly before finalizing
- Choose appropriate materials for durability
Whether you’re creating a gift for a fellow board game enthusiast or designing the perfect battlefield for your gaming group, the process of making a Risk board game map is almost as fun as playing the game itself.
Ready to conquer new worlds of your own design? The only limit is your imagination.
Now you know exactly how to make a Risk board game map that will impress your friends and provide countless hours of strategic gameplay. Time to start designing!
Have you created your own custom Risk map? Share your experience in the comments below!
 English
  Chinese
  German
  French
  Spanish