Creating your own board game is one of the most rewarding creative projects you can tackle. And as a professional board games manufacturer, let me tell you, how to make board games isn’t nearly as complicated as most people think.
Sure, it takes work. But with the right approach, you can go from a simple idea to a fully playable game that friends and family will actually want to play again and again.
I’ve seen tons of aspiring game designers get overwhelmed by the process. They think they need fancy equipment, years of experience, or a degree in game design.
The truth?
You just need a systematic approach and the willingness to test, iterate, and improve your game based on real feedback.
Why Board Games Are Having a Moment
Before we dive into the nuts and bolts, let’s talk about why 2025 is the perfect time to create your own board game.
The board game industry is absolutely booming. According to recent market research, the global board games market is expected to reach $30+ billion by 2026. That’s massive growth.
But here’s what’s really exciting: independent game designers are leading this charge. Games like Wingspan, Azul, and Splendor all started as passion projects from individual creators.
And thanks to platforms like Kickstarter, The Game Crafter, and BoardGameGeek, you don’t need a major publisher to get your game into people’s hands.
How to Make Board Games
Step 1: Start With Your Core Concept
Every great board game starts with a simple, compelling idea.
Maybe you want to simulate running a coffee shop. Or perhaps you’re fascinated by the logistics of space exploration. Whatever it is, write it down.
Here’s the thing: your initial concept doesn’t have to be completely original. Some of the best games are clever combinations of existing mechanics with fresh themes.
For example, Wingspan combines engine-building mechanics (like Splendor) with a bird-watching theme. The result? A game that feels both familiar and completely unique.
Define Your Core Experience
Ask yourself these questions:
- What’s the main thing players will be doing?
- How many players should be able to play?
- How long should a typical game last?
- What age group are you targeting?
Don’t overthink this step. Just get your ideas down on paper.
Step 2: Choose Your Game Mechanics
This is where game design theory comes into play, but don’t worry – you don’t need a PhD to understand the basics.
Most successful board games use one or more of these core mechanics:
Resource Management: Players collect and spend resources (think Catan or Splendor)
Area Control: Players compete for territory or influence (like Risk or Ticket to Ride)
Engine Building: Players create systems that generate more resources over time (Wingspan is perfect example)
Worker Placement: Players use limited “workers” to take actions (Lords of Waterdeep does this beautifully)
Deck Building: Players start with basic cards and improve their deck during play (Dominion popularized this)
The key is choosing mechanics that support your theme and create the experience you want players to have.
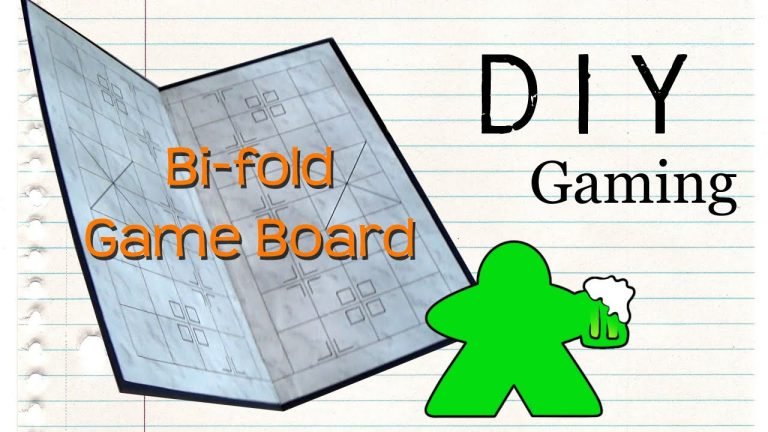
Step 3: Create Your First Prototype
Here’s where most people get stuck. They think they need to create something perfect before they can test it.
Wrong.
Your first prototype should be as simple as possible. We’re talking paper, cardboard, and borrowed pieces from other games.
Materials You’ll Need
- Index cards or cardstock
- Basic art supplies (markers, pencils)
- Dice (steal them from other games)
- Generic tokens or coins
- A simple board drawn on cardboard
Remember: function over form at this stage. You’re testing ideas, not creating a masterpiece.
Start Small
Don’t try to create a complex game right away. Start with the simplest version of your concept that’s still playable.
For example, if your game involves managing a restaurant, start with just 2-3 types of resources and 2-3 actions players can take. You can always add complexity later.
Step 4: Playtest Relentlessly
This is the most crucial step in board game development, and it’s where most amateur designers fail.
Why? Because they’re afraid to show their “unfinished” game to others.
Here’s the truth: playtesting is where your game actually gets made. Everything before this is just preparation.
Solo Testing First
Start by playing your game by yourself, controlling all players. This helps you identify obvious problems before involving others.
Ask yourself:
- Are the rules clear?
- Does the game flow smoothly?
- Are there any “dead ends” where players get stuck?
- Is it actually fun?
Expand to Friends and Family
Once you’ve worked out the major kinks, invite others to play. But here’s the key: observe more than you talk.
Take notes on:
- Where players get confused
- Which parts drag or feel boring
- What strategies emerge
- Whether the game feels balanced
The Power of Blind Playtesting
Eventually, you’ll want to do “blind” playtests where players learn your game using only the rulebook (no explanation from you).
This is brutal but necessary. If players can’t understand your game from the rules alone, you’ve got work to do.
Step 5: Write Clear, Concise Rules
Rule writing is an art form. You need to be comprehensive but not overwhelming, clear but not condescending.
Here’s a structure that works:
Opening Section
- Game overview (what players are trying to accomplish)
- Player count and age range
- Estimated play time
Components List
- Complete inventory of everything in the box
- Clear descriptions of each component’s purpose
Setup Instructions
- Step-by-step setup process
- Include a visual diagram if possible
Gameplay Section
- Turn structure
- Available actions
- Clear examples of complex interactions
Winning Conditions
- How the game ends
- How victory is determined
Pro tip: Use lots of examples. When in doubt, show don’t tell.
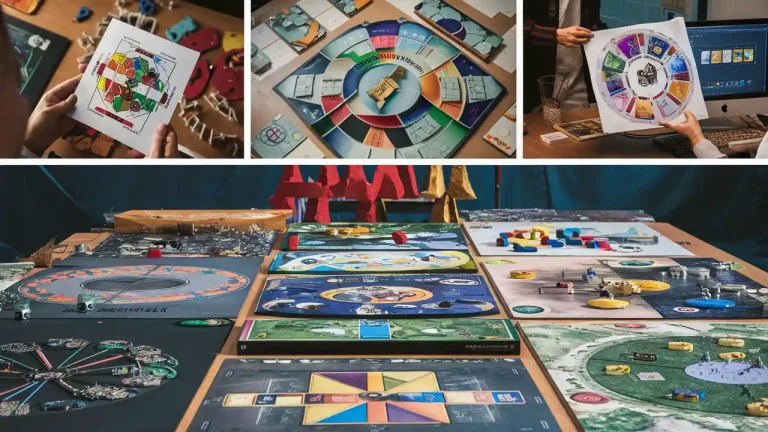
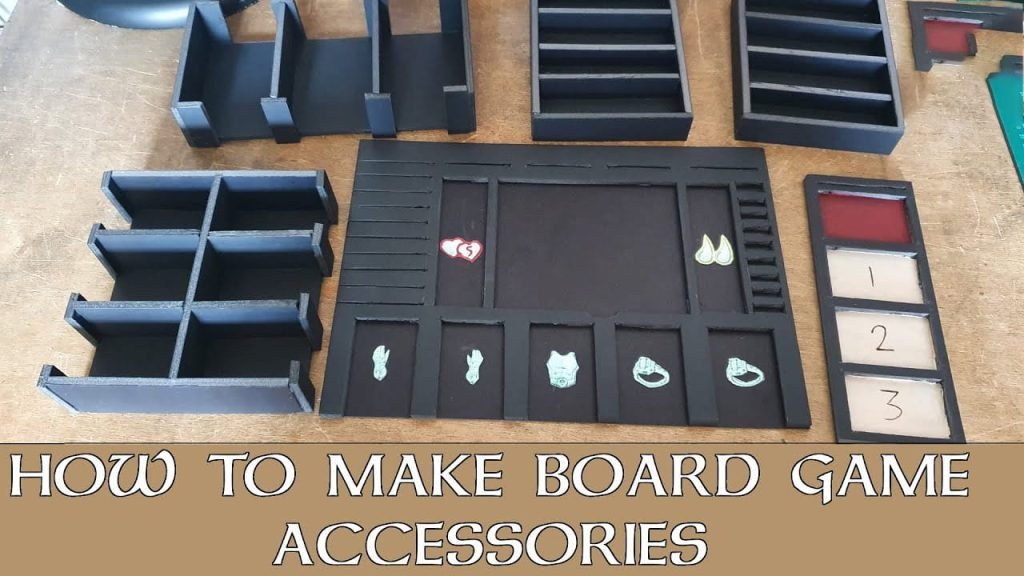
Step 6: Design Your Components
Once your mechanics are solid, it’s time to think about the visual design.
Board Design Options
Hand-drawn: Perfect for prototypes. Use cardboard and basic art supplies.
Digital Design: Tools like Canva, Adobe Illustrator, or even PowerPoint can create professional-looking boards.
Print-on-Demand: Services like The Game Crafter let you upload designs and receive printed components.
Card Design Principles
Keep cards simple and functional:
- Important information should be large and clear
- Use consistent layouts across all cards
- Include essential game icons or symbols
- Leave white space – don’t cram everything in
Component Considerations
Think about durability and cost:
- Cardboard is cheap but not as durable as wood
- Custom dice are expensive but can add a lot to the experience
- Standard components (like poker chips) are cheaper than custom tokens
Step 7: Balance Your Game
Game balance is what separates good games from great ones.
A balanced game gives all players a reasonable chance to win, regardless of their strategy or starting position.
Mathematical Approach
Look at the numbers in your game:
- Point values and scoring systems
- Resource costs and benefits
- Probability distributions for random elements
Empirical Testing
But math only gets you so far. You need real playtest data to identify balance issues.
Watch for:
- One strategy that dominates all others
- Players who fall behind early and can’t recover
- Runaway leader problems (where getting ahead makes it easier to stay ahead)
Step 8: Consider Production Options
Eventually, you’ll want to create a more polished version of your game.
Self-Made Production
Create everything yourself using:
- High-quality cardstock for cards
- Professional printing services
- Laser cutting for custom wooden pieces
This approach gives you complete control but requires significant time investment.
Print-on-Demand Services
Companies like The Game Crafter, PrintPlayGames, and GamesByEmail offer professional printing in small quantities.
Pros:
- Professional quality
- No minimum order quantities
- Handle fulfillment for you
Cons:
- Higher per-unit costs
- Limited customization options
Traditional Manufacturing
For large runs (1000+ copies), traditional board game manufacturers offer the best per-unit pricing.
However, this requires:
- Significant upfront investment ($5,000-$50,000+)
- Long lead times (3-6 months)
- Storage and fulfillment logistics
Step 9: Market Your Game
Creating a great game is only half the battle. You also need to get it in front of potential players.
Build a Community
Start building an audience before your game is finished:
- Share development updates on social media
- Post on BoardGameGeek forums
- Join local game design groups
- Attend gaming conventions
Crowdfunding Considerations
Platforms like Kickstarter can be powerful tools for indie game publishing, but they require careful planning:
- Build an email list before launching
- Create compelling campaign content
- Plan for fulfillment logistics
- Budget for marketing and advertising
Publisher Pitches
If you’d rather have someone else handle production and marketing, consider pitching to established publishers.
Most publishers prefer:
- Polished prototypes
- Proven market demand (successful playtests)
- Clear target audience
- Reasonable production costs
Advanced Tips for Success
Focus on Player Experience
Always ask: “What experience am I creating for players?” Every rule, component, and design decision should support that experience.
Study Successful Games
Play lots of games in your genre. What makes them work? What could be improved? Don’t copy, but learn from what’s already successful.
Join the Community
The board game design community is incredibly supportive. Join online forums, attend conventions, and connect with other designers.
Iterate Constantly
Your first version won’t be your best version. Embrace feedback and be willing to make significant changes.
Common Pitfalls to Avoid
Overcomplicating: Simple games are often more successful than complex ones.
Ignoring Feedback: If multiple playtesters identify the same issue, it’s probably a real problem.
Skipping Blind Playtests: Players need to understand your game without your explanation.
Focusing Only on Theme: Mechanics matter more than theme for most players.
Not Considering Production Costs: Amazing components don’t matter if nobody can afford your game.
The Path Forward
Learning how to make board games is a journey, not a destination. Your first game probably won’t be perfect, and that’s okay.
The key is starting. Pick a simple concept, build a basic prototype, and start testing. Each iteration will teach you something new about game design.
Remember: every successful game designer started exactly where you are now – with an idea and the willingness to see where it leads.
Whether you’re creating a simple family game or the next competitive strategy masterpiece, the process remains the same: conceive, prototype, test, iterate, and improve.
So grab some cardboard, borrow some dice, and start creating. The board game world is waiting for your unique contribution.
The best time to start learning how to make board games was yesterday. The second best time is right now.