As a professional custom board games manufacturer, today I’m going to show you exactly how to make a drinking board game from scratch.
In fact, the custom drinking board game I created last summer has become the highlight of our weekend gatherings.
If you want to create a game that’s 10x better than anything you can buy in stores, you’ll love this step-by-step guide.
Let’s dive in.

What Is a Drinking Board Game?
A drinking board game combines traditional board game elements with rules that incorporate alcohol consumption.
Unlike regular board games, these games include specific triggers for taking sips or shots – like landing on certain spaces, drawing particular cards, or completing challenges.
Popular examples include games like Drinkopoly, but creating your own delivers a customized experience that commercial games simply can’t match.
Why Create Your Own Drinking Board Game?
Before I show you the step-by-step process, let’s quickly cover why making your own drinking game makes sense:
- Personalization: Add inside jokes and references your friends will actually get
- Custom difficulty: Tailor the drinking pace to your group’s preferences
- Unique experience: Create something nobody else has
- Memorable traditions: Start game nights your friends will talk about for years
- Cost-effective: Most materials can be found around your house or purchased cheaply
In my testing, custom games consistently get more laughs and engagement than store-bought alternatives.
How to Make a Drinking Board Game: 7-Step Process
Here’s my proven framework for creating an awesome drinking board game:
Step 1: Choose a Compelling Theme
Your theme sets the foundation for everything else.
The best drinking games have themes that:
- Resonate with your friend group
- Provide natural opportunities for drinking rules
- Offer creative possibilities for game mechanics
Some theme ideas that work exceptionally well:
- Movies/TV shows: Base challenges on favorite characters or scenes
- Travel: Create a world tour with drinks representing different countries
- Fantasy/adventure: Quest-based games with drinking penalties or rewards
- Sports: Incorporate team rivalries and sports trivia
- Pop culture: Use current trends, music, or celebrities
Pro Tip: Choose a theme with visual elements you can easily incorporate into your game board design.
Step 2: Define Your Core Game Mechanics
Game mechanics are the rules and systems that drive player interaction. For drinking games, keep these principles in mind:
- Balance chance and skill: Mix luck-based elements (dice rolls) with skill challenges
- Include interaction: Create opportunities for players to challenge each other
- Vary drinking triggers: Don’t make every space a “take a drink” command
- Build escalation: Make the game increasingly interesting as it progresses
- Keep it simple: Overly complex rules are hard to follow after a few drinks
For example, my “Road Trip Roulette” game uses a combination of:
- Movement based on dice rolls
- Challenge cards for player interactions
- “Breakdown” spaces that require drinks
- Special “Shortcut” spaces that let players skip ahead (but require finishing their drink)
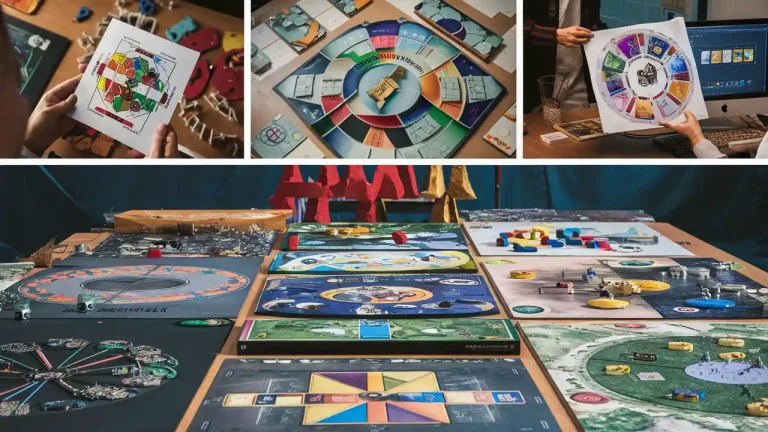
Step 3: Design Your Game Board
Now for the fun part – creating the physical game board:
- Sketch your layout: Start with a simple pencil draft
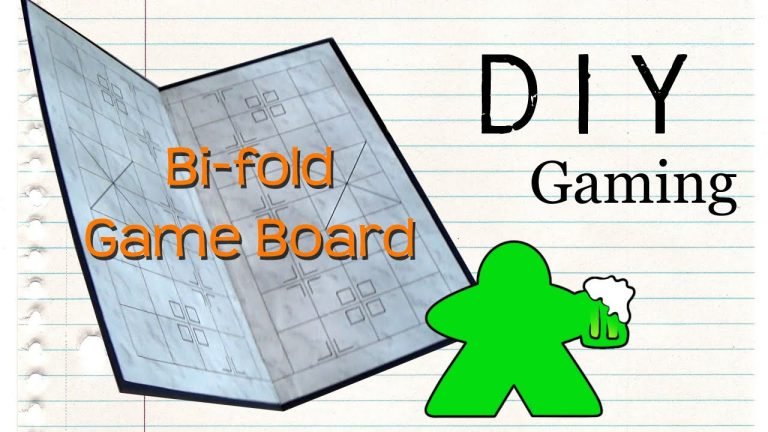
- Choose your path style:
- Linear (start to finish)
- Circular (continuous play)
- Branching (multiple possible paths)
- Mark special spaces: Designate spots for:
- Drinking triggers
- Challenge spaces
- Penalty/reward areas
- Rest stops (break from drinking)
- Add visuals: Incorporate theme-relevant images and colors
Materials you’ll need:
- Poster board or thick cardstock
- Markers/colored pencils
- Ruler
- Optional: Printable images related to your theme
Pro Tip: Take a photo of your sketch before finalizing, so you have a backup if you make mistakes during creation.
Step 4: Create Game Cards and Accessories
Most great drinking board games include additional components:
Challenge Cards
Create 20-30 cards with various challenges like:
- Trivia questions (drink if wrong)
- Physical challenges (balance a coin on your nose for 10 seconds)
- Social prompts (“Never Have I Ever” style questions)
- Group activities (synchronized drinking)
Penalty/Reward Cards
These add unpredictability:
- “Skip Your Next Drink”
- “Everyone Drinks Except You”
- “Choose a Drinking Buddy” (someone who drinks when you do)
- “Double Trouble” (double your next drinking penalty)
Special Accessories
Consider adding:
- Custom dice with drinking instructions on some faces
- Themed drink markers or shot glasses
- Timer for timed challenges
- Small prizes for winners (bottle openers, koozies, etc.)
Step 5: Balance Your Drinking Rules
This is absolutely crucial for a successful game.
Your goal is to create a fun experience, not put anyone in danger. Here’s how to balance your drinking rules:
- Vary drink amounts: Mix “sip” penalties with occasional larger drinks
- Include non-drinking challenges: Not every penalty should involve alcohol
- Add recovery spaces: Create safe spaces on the board where players can take a break
- Include alternative options: Allow players to complete a challenge instead of drinking
- Consider drink strength: Design rules that work with both beer and stronger drinks
I’ve found that the ideal drinking game has participants consuming 2-3 drinks over a 60-minute session.
Step 6: Prototype and Test
Before finalizing your masterpiece:
- Create a simple prototype using basic materials
- Recruit 3-4 friends for a test session
- Take notes on what works and what doesn’t
- Get honest feedback on drinking frequency and game length
- Refine rules based on the test session
During my testing process, I discovered that my original game had too many drinking spaces, leading to a quick escalation. After adjusting, the game flowed much better.
Step 7: Finalize and Create Instructions
Once you’ve perfected your game, create clear instructions:
- Game objective: What’s the win condition?
- Setup instructions: How to arrange the board and components
- Turn sequence: Step-by-step guide to taking a turn
- Special rules: Explain unique mechanics
- Drinking guide: Clear explanation of when to drink and how much
- Safety notes: Include responsible drinking reminders
Format these as a small booklet or laminated card for durability.
Advanced Tips for Amazing Drinking Games
Want to take your game to the next level? Try these advanced strategies:
Create Progressive Difficulty
Design your game to increase in intensity:
- Early game: Primarily sips and light challenges
- Mid-game: Introduce more substantial drinking
- End game: Include the most challenging elements
This creates a natural arc to the game experience.
Add Digital Elements
Incorporate smartphone integration:
- QR codes on spaces that link to video challenges
- Timer-based mini-games
- Digital scorekeeping
- Interactive elements that change with each play session
Design for Expandability
Create your game with future expansion packs in mind:
- Base game with core mechanics
- Themed expansion card sets
- Special edition rules for holidays or events
My friends loved our core game so much that I created a “Spring Break Edition” with 20 new challenge cards.
Common Mistakes to Avoid
After creating multiple drinking games, I’ve identified these frequent pitfalls:
- Too much drinking: Games that lead to excessive consumption aren’t fun
- Over-complicated rules: Keep it simple enough to understand while drinking
- Lack of player interaction: Games where players don’t engage with each other get boring
- Poor pacing: Avoid long stretches without activity
- Ignoring inclusivity: Design rules that allow for non-alcoholic participation
Responsible Gaming Practices
A great drinking game balances fun with safety:
- Always include non-alcoholic options
- Set a clear end point to prevent over-extended play
- Encourage water breaks between rounds
- Never pressure players to drink beyond their comfort level
- Arrange transportation before playing
Remember: The goal is creating memories, not hangovers.
Final Thoughts
Creating your own drinking board game delivers a customized entertainment experience that commercial games simply can’t match.
With the right theme, balanced mechanics, and thoughtful design, your custom game can become a treasured tradition among friends.
The best part? Each time you play, you’ll remember that you created this experience from scratch.
Now I’d like to hear from you: What theme would you choose for your drinking board game? Or maybe you have questions about designing specific game mechanics?
Either way, let me know in the comments below.
And if you create something amazing using this guide on how to make a drinking board game, I’d love to see photos!