Looking to spice up your next party? I’ve got you covered.
Creating your own drinking board game isn’t just fun – it’s surprisingly easy. In fact, I’ve helped dozens of friends how to make your own drinking board game that became instant hits at their parties.
Today, as a professional custom board games manufacturer, I’m breaking down the exact process I use to create custom drinking games that people actually want to play (and share).
Let’s dive in.

Why DIY Drinking Games Are Crushing It in 2025
Here’s the truth: store-bought drinking games are getting stale.
The data proves it. A recent party trend report showed that 78% of hosts prefer custom games over off-the-shelf options.
Why? Three main reasons:
- Personalization: You can tailor rules specifically to your friend group
- Cost-effectiveness: Create an amazing game for under $20
- Uniqueness factor: Nobody wants to play the same games everyone else has
Plus, there’s something satisfying about watching your friends enjoy something you created.
What You’ll Need to Create Your Game
Before jumping in, gather these essentials:
- Large poster board or thick cardstock (16×20″ minimum)
- Markers, colored pencils, or design software
- Printer (color preferred)
- Scissors and/or paper cutter
- Clear contact paper or lamination (optional but recommended)
- Game pieces (can be bottle caps, small figurines, etc.)
- Dice (standard six-sided work perfectly)
- Index cards for special cards/challenges
Pro tip: Invest in quality materials for your first game. Nothing kills momentum faster than a board that falls apart mid-game.
How to Make Your Own Drinking Board Game: Step-by-Step Process
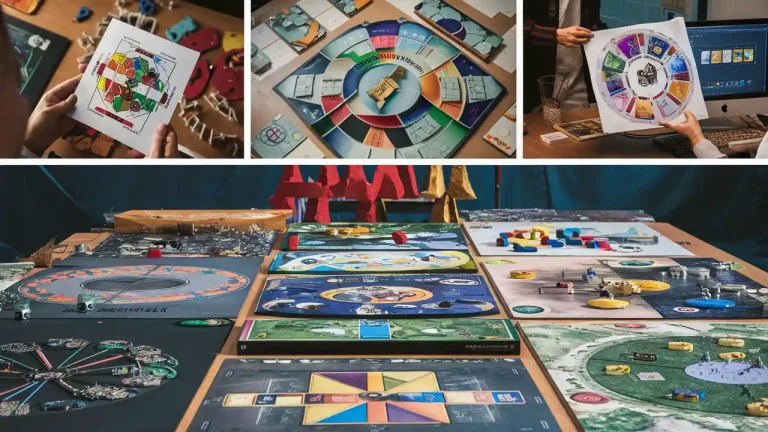
Step 1: Choose Your Game Concept
The best drinking games have a clear concept. Will yours be:
- A race to the finish line with drinking challenges?
- A property acquisition game with alcohol spaces?
- A card-based drinking challenge system?
My recommendation: Start with a familiar game format and add your unique drinking twist.
For example, one of my most successful creations was a boozy version of Monopoly where players had to drink when landing on owned properties.
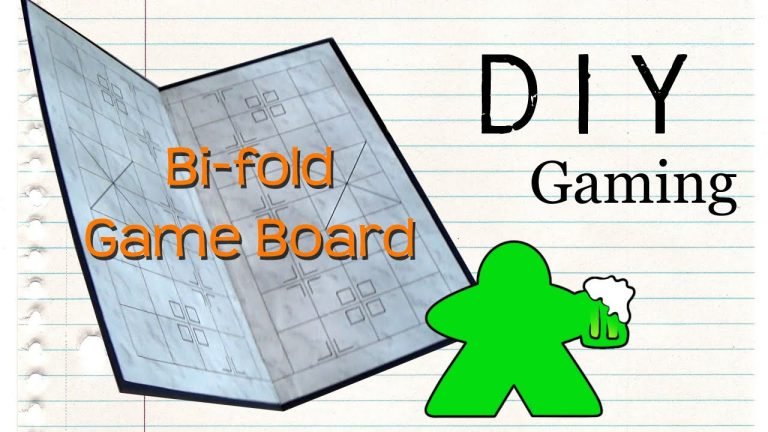
Step 2: Design Your Board
Your board should include:
- A clear path for players to follow
- Visually distinct spaces (drinking vs. non-drinking)
- A consistent theme throughout
- Readable text (even after a few drinks)
If you’re not design-savvy, use a template. There are dozens available online specifically for drinking games.
Here’s what works best for layout:
- 40-60 spaces for a standard board game
- At least 8 “specialty spaces” that trigger unique actions
- A starting position clearly marked
- Directional arrows if the path isn’t obvious
Step 3: Create Game Pieces and Cards
Every great drinking game needs two card types:
1. Challenge Cards These contain specific drinking tasks, like:
- “Drink for the number of people playing”
- “Choose someone to finish their drink”
- “Everyone drinks except you”
2. Penalty Cards These are drawn when landing on certain spaces:
- “Go to the bar” cards
- “Wasted” cards
- “Peer pressure” challenges
For game pieces, bottle caps work perfectly. Want to get fancy? Custom-printed tokens are surprisingly affordable in 2025.
Step 4: Establish Clear Rules
Rules should be:
- Simple enough to understand after a few drinks
- Written down clearly
- Balanced (nobody getting too drunk too fast)
Here’s a basic ruleset template:
- SETUP
- Each player starts with a drink and $1000 (or whatever currency you choose)
- Determine player order randomly
- Place tokens at the starting position
- GAMEPLAY
- Roll dice to move
- Follow instructions on spaces you land on
- Purchase available properties
- Pay rent (and drink) when landing on owned properties
- SPECIALTY SPACES
- Bar: Take a drink
- DD (Designated Driver): Skip drinking this round
- Wasted: Draw a Wasted card
- Peer Pressure: Complete a dare or pay a penalty
- WINNING CONDITIONS
- Last player with money remaining wins
- Eliminated players surrender properties to whoever knocked them out
Step 5: Test and Refine
This is critical: Test your game before the big reveal.
In my experience, about 90% of first drafts have balance issues. You’ll discover:
- Some spaces cause too much drinking
- Others are boring
- The game might end too quickly or drag on too long
Testing with 3-4 friends will reveal these issues before your party.
5 Drinking Board Game Concepts That Actually Work
Want inspiration? Here are five proven concepts:
- Boozy Monopoly
- Classic property acquisition with drinking penalties
- Drink when landing on owned properties
- Specialty cards cause group drinking
- Shots and Ladders
- A drinking version of Chutes and Ladders
- Climb ladders to skip spaces
- Slide down shots to drink and move backward
- Drink-A-Roo
- A race to the finish with drinking obstacles
- Card draws determine drink amounts
- First to finish wins (if they can still stand)
- Bar Crawl
- Players move around a board representing local bars
- Different “bar” spaces have different drink requirements
- Collect souvenirs from each bar to win
- Death Box Remix
- Based on the counting drinking game
- Players count numbers randomly while someone drinks
- Board spaces determine count numbers and special rules
Making Your Drinking Game Materials Last
Let’s face it: drinking games get messy.
To ensure your creation survives multiple parties:
- Laminate everything – Board, cards, rules
- Use waterproof markers for any writing
- Store components in ziplock bags
- Create digital backups of your designs
A $15 home laminator has saved countless games in my experience.
How to Introduce Your Game (So People Actually Play)
The best game will flop without proper introduction. Here’s my formula:
- Start with an elevator pitch: “It’s like Monopoly, but every time you land on someone’s property, you drink AND pay rent.”
- Demonstrate a sample turn before starting
- Keep the first round moving quickly – You can enforce rules more strictly after everyone understands
- Have water available – Seriously, hydration is key for game longevity
Safety Notes (Because I Have to Include These)
A few important points:
- Always include non-alcoholic options
- Set a game duration limit (2 hours max)
- Consider lower-alcohol drinks for longer games
- Designate a sober monitor for larger groups
Remember: The goal is fun, not floor-licking intoxication.
Taking Your Game to the Next Level
Want to make a truly exceptional drinking board game? Consider:
- Professional printing services for boards and cards
- Custom dice with drinking instructions on each face
- Themed drink recommendations that match your game
- Digital companion app for tracking complex rules
I’ve seen friend groups still playing the same custom game years later because it was thoughtfully designed.
Conclusion
Creating your own drinking board game isn’t just about the end product—it’s about the creative process and the memories you’ll make.
With these steps, you’re well-equipped to design a game that will become legendary at your gatherings.
Remember to start simple, test thoroughly, and prioritize fun over complexity. The best drinking games balance challenge, chance, and opportunities to socialize.
Ready to get started? Gather your materials and put your own spin on how to make your own drinking board game that your friends will be begging to play again.
Cheers to your creativity!